Installation
To add a WordPress Plugin using the built-in plugin installer:
- Go to "Plugins -> Add New".
- Click "Upload Plugin" button.
- Choose downloaded ZIP file and click "Install Now" button.
- Make sure that you click on "Activate the plugin". Now you have installed directory plugin.
-
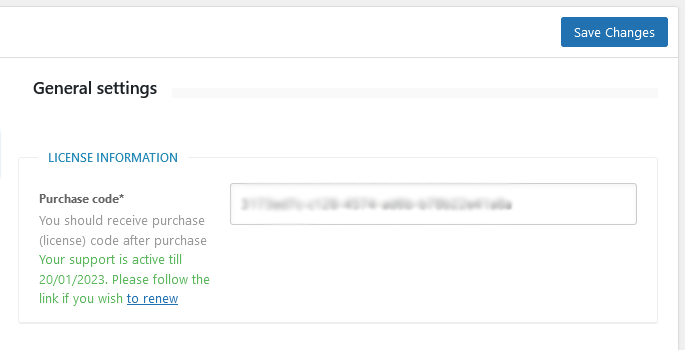
(required) Take your purchase code, go to Directory Admin -> Directory Settings page and enter purchase code into "Purchase code" setting field.
- (required) Create new page and enter [webdirectory] shortcode or [webdirectory custom_home=1] shortcode if you wish to build custom home page. Also you might want to create additional pages for frontend submission and dashboard using [webdirectory-submit] and [webdirectory-dashboard] shortcodes if you wish your logged in users to manage their listings, invoices and profile on the frontend dashboard page.

- (optional) Create new page and enter [webdirectory-listing-page] shortcode to build separate page for single listings. Especially when you are building custom home page, so there will not be any other directory elements like on the home page.
Mandatory page with [webdirectory] or with [webdirectory custom_home=1] shortcode should not have child pages, it must be public, not private, not in trash, must be unique - only one page with this shortcode allowed.
WordPress Multisite installation
Upload the plugin on Network Admin plugins page, but don't activate it. It is not allowed to enable "Network Activate" for the plugin on Network plugins page, instead activate it on the plugins page of each sub-site. Also note, that each activation on each sub-site requires separate license.
Demo pages
Custom layout of directory elements
- Custom Home Page 1
- Custom Home Page 2
- Custom Home Page 3
- Custom Home Page 4
- Custom Home Page 5
- Custom Home Page 6
- Search + AJAX Map + Listings
- Connected Sticky Shortcodes
- 4 Columns
- Only Sticky & Featured
- Geolocation with Listings
- Listings Carousel
Listings shortcodes
- Radius circle on the map
- Ajax Map
- Geolocation
- All listings of a location
- Search Form on Map
- Categories search on map
- Draw Panel
Maps shortcodes
Table of Contents
- Installation
- Shortcodes
- Listings management
- Maps management
- Directory settings
- Content fields
- Claim Functionality
- SEO and Meta information
- Contact Forms
- Search forms
- Sorting of listings
- Custom pages
- Frontend submission & dashboard
- Payments
- Ratings, comments and reviews
- Directory widgets
- Customization styles & templates
- How to modify texts
- Translation
- CSV Import
- Troubleshooting